Create PM/Template from Map
![]()
The Create PM/Template tool enables users to create a Template based on features from in the Webmap. If desired, this Template can then be turned into a PM.
How To Create a PM/Template
- Select one or more features in the Webmap or from the Data Table.
- Select
 (located both in the Selection toolbar and in the Data Table). The following pop-up appears:
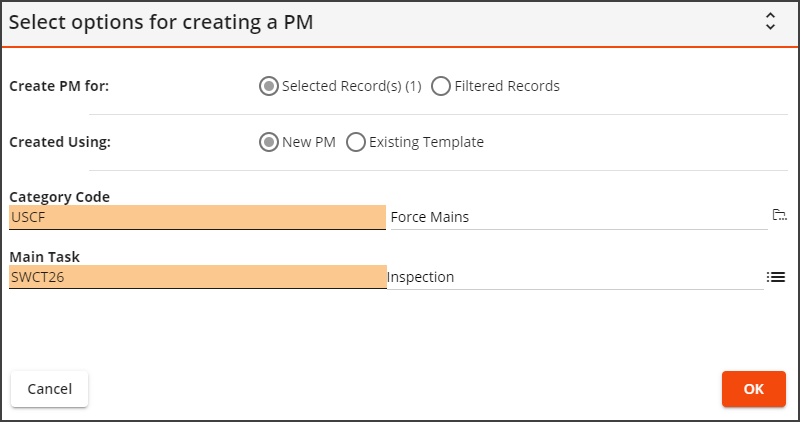
- In the Create PM for... field, the Selected Records option is selected by default. This is the only option available when working in the Webmap.
- In the Where field (if applicable), choose whether to create one PM/Template with all of the records attached ORseparate PM/Templates for each record.
-
In the Created Using field, select whether this is a New PM or if it will be based on an Existing PM.
-
If you selected New PM, enter the following information:
- In the Category Code field, enter the Work Category to be used on the record. The system completes this field if a Default Work Category exists.
- Enter the Main Task to be performed.
- If you selected the Existing Template option, a list of PM Templates with a Category that matches the Work Order Asset appears. Select one to use as the template for your PM.
-
- Select . The system creates the Template with the selected features attached. The PM/Template Code and Description are generated automatically based on the first asset and the Main Task.
The PM/Template module opens to display the new record.
Note: By default, the record is created as a Template. To convert it to a PM, the user must edit the record and mark the Scheduled PM box.